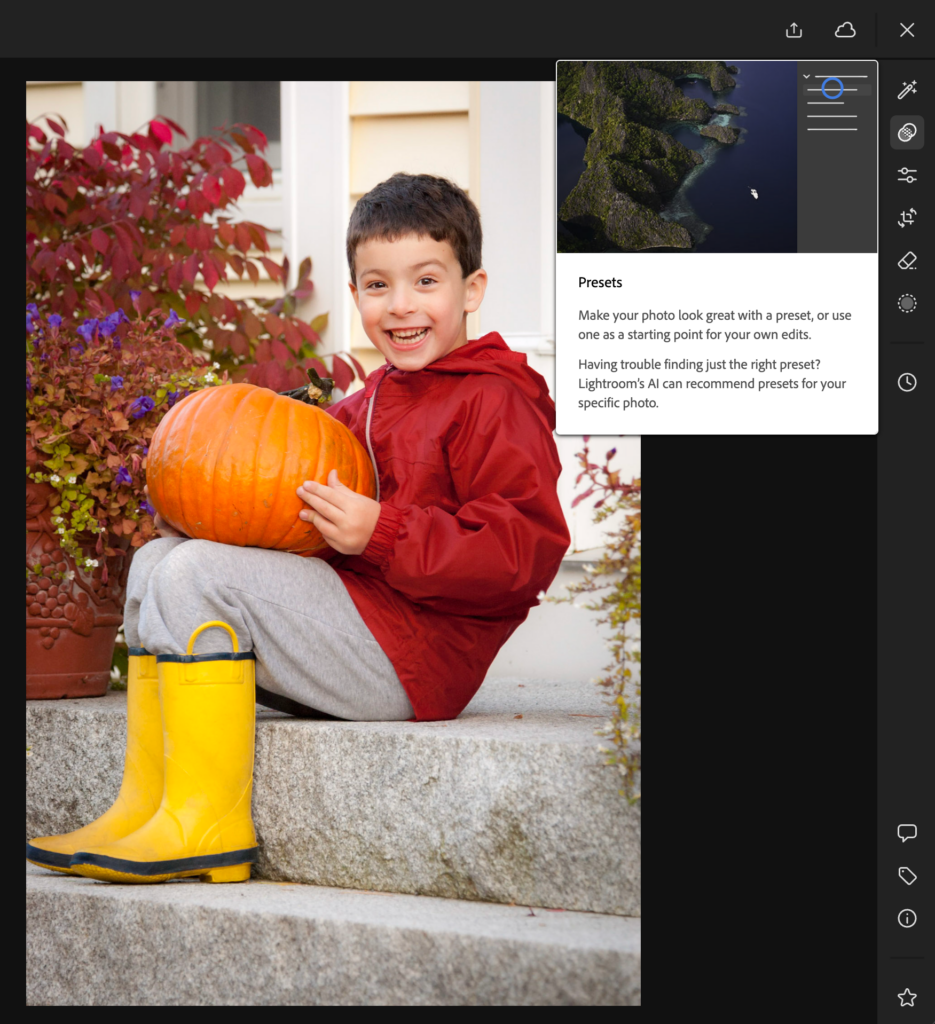
While exploring the Quick Actions on Lightroom web I also played around with the newly added adaptive presets you can access while editing in your web browser. Anyone needing to make quick edits can take advantage of these to leverage the power of subject detection to make adjustments in a single click. Open a photo into the editing space by clicking on it, then click the Presets icon to open the Presets panel.
Among all the Premium (subscription required to access) presets, you’ll find the adaptive presets for portrait, sky, subject, and now blur background. Each of those represents a group of presets to achieve certain looks or starting points. The newest take advantage of the new Lens Blur panel (also accessible in Lightroom web), so let’s explore those.
Click each preset to see how it affects your photo, and note there is a Reset Blur preset at the bottom to clear those adjustments. Also, you can click the undo arrow icon at the top of the panel to undo any change. You also need to click the Save button at the top to apply the settings in the preset and move on. Once you click a preset you’ll see an Amount slider allowing you to dial in the intensity of the settings. Once you are happy with the amount, click Save, then click the Edit icon to access all of the editing tool panels and fine tune the results.
In the case of Lens Blur, you can further refine the Amount, Bokeh, and Focus Range to get the photo looking just the way you want. Click Save to finalize your settings, which will be synced across all other Lightroom apps, and you’re ready to move on to the next photo. Give it a spin!
The post Adaptive Presets on Lightroom Web appeared first on Lightroom Killer Tips.


